I recently purchased a die set made by Studio Light. After opening the package, I was quickly overwhelmed by all the pieces. See how I figured out the die set!
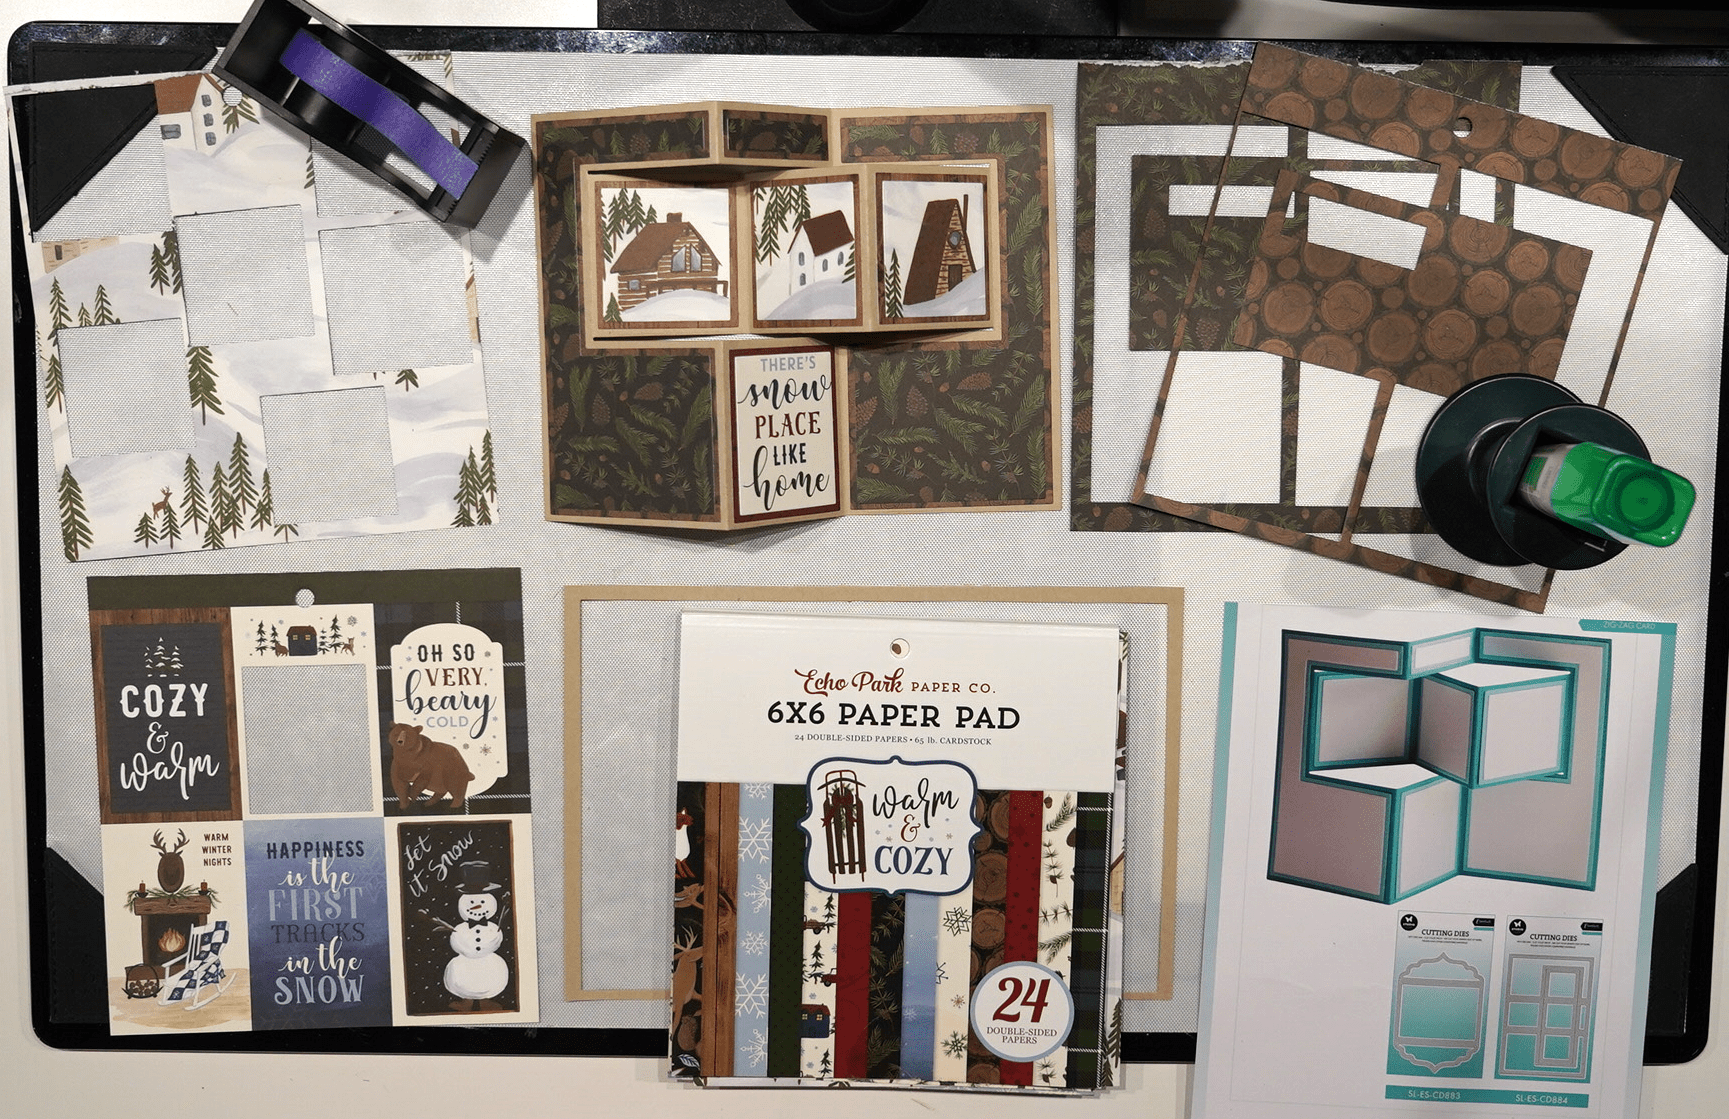
Supplies
I try to find these items on Amazon, but if Amazon doesn’t have them, I’ll link to where I find them in stock. If you use my Amazon Link, I make a few pennies at no cost to you. Thank you!!
- Studio Light SL-ES-CD884 Zig Zag Die Set (Retired)
- Sizzix Die Cutting Machine (Link)
- Purple Tape (Link)
- Echo Park 6×6 Paper Pad “Warm & Cozy” (Link)
- Tombow Multi Mono Liquid Glue (Link)
- Kraft 110lb 8.5×11-inch cardstock (Link)
Instructions
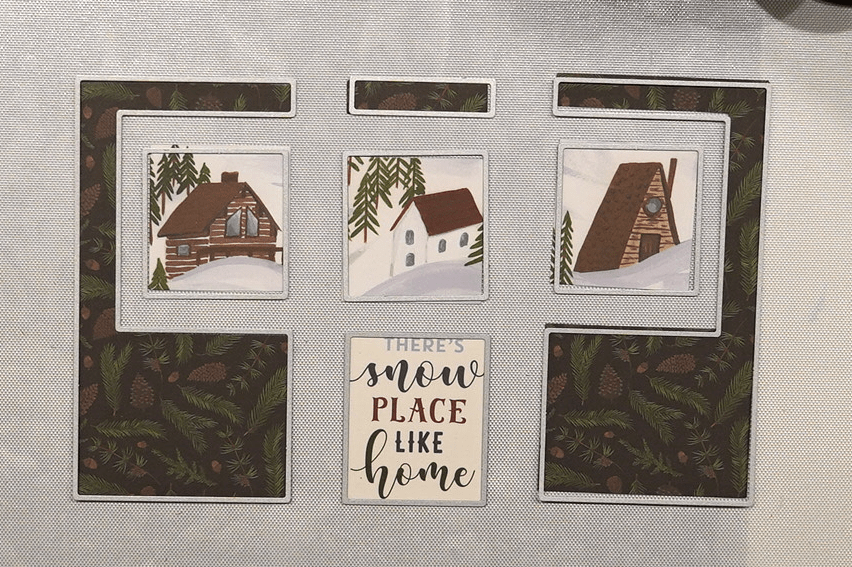
Step 1. This die set is made up of three layers. Start with the top layer. I chose the little houses from one of the papers from the Echo Park 6×6 paper pad called “Warm & Cozy”. Then I thought the pine cone paper was a good compliment. I found the tag for the sentiment fit well in the middle bottom die, select what works for your patterned paper.
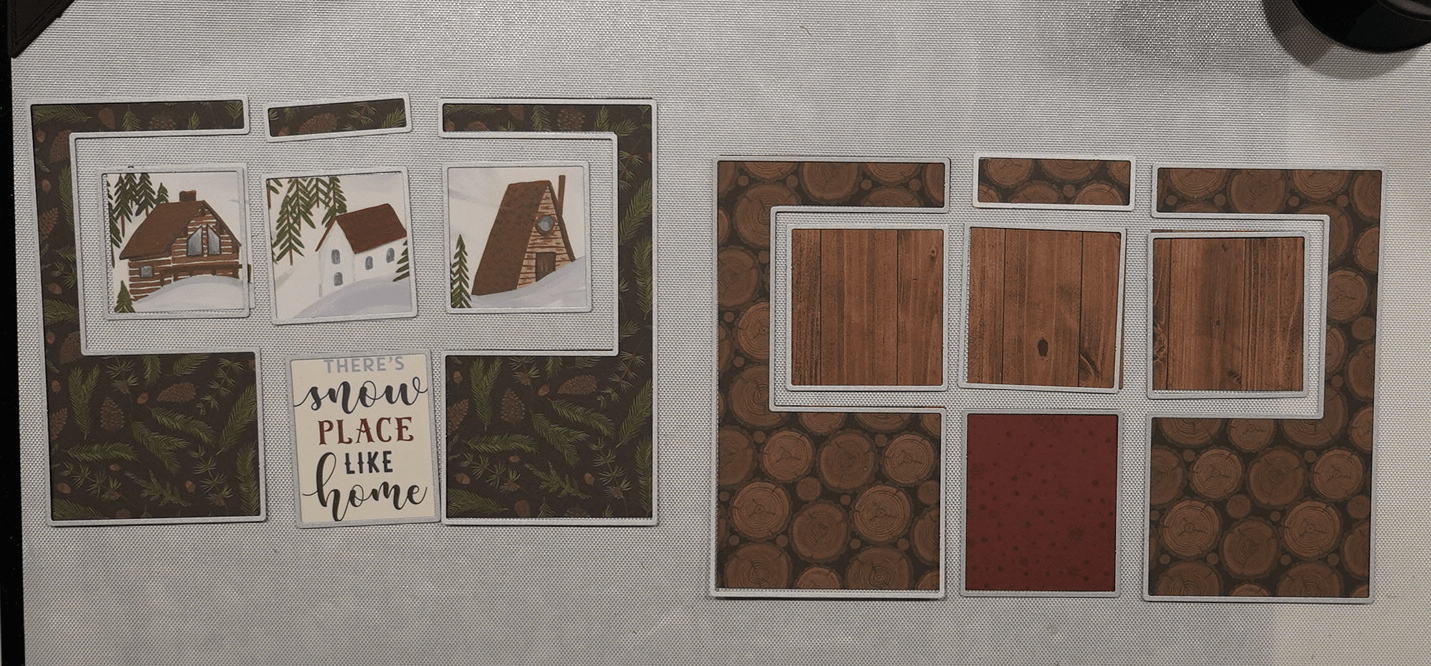
Step 2. Brown was a good layer to put behind the houses, and conveniently, the back of the papers I selected had wood grain. Then, I chose another 6×6 page that had the logs with a very similar brown. Worked great! I was on a roll.
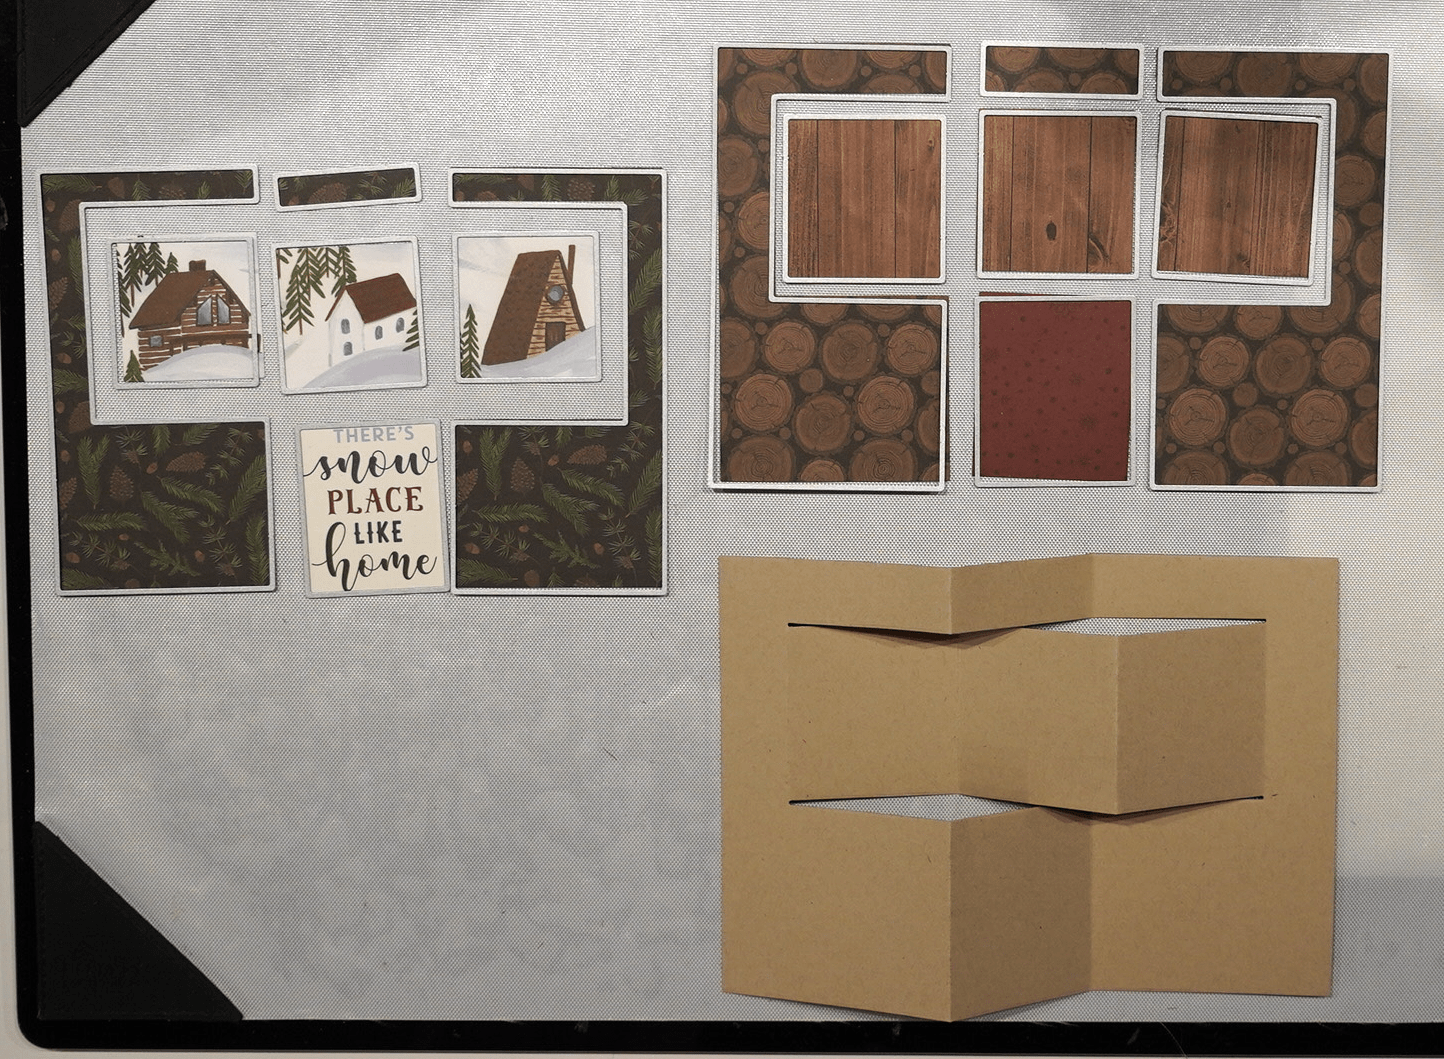
Step 3. To tie it all together, I decided to use 110lb Kraft paper for the card base. I knew I wanted a light color and decided the kraft looked handsome instead of white. Remember for the 8.5×11 cardstock, you will need a little more than 5.5″ to use the die to cut out the card base.
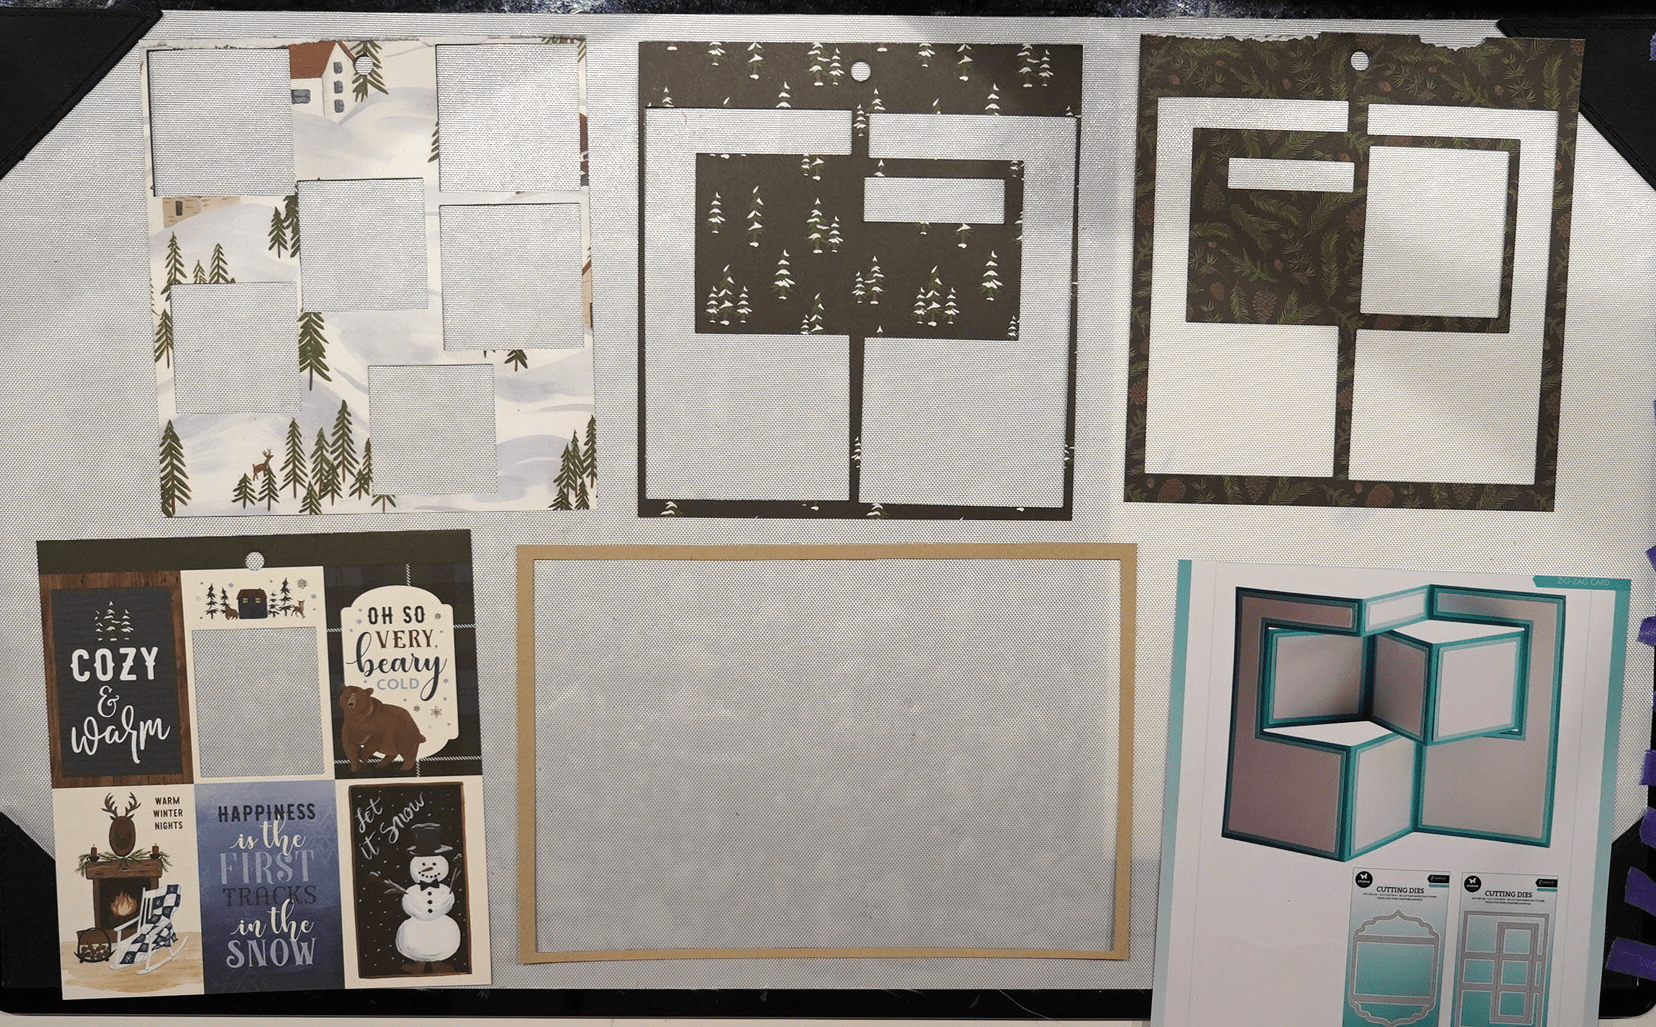
Here’s an overview of the scraps left behind. Hopefully, it illustrates how the 6×6-sized patterned paper worked with this die set.
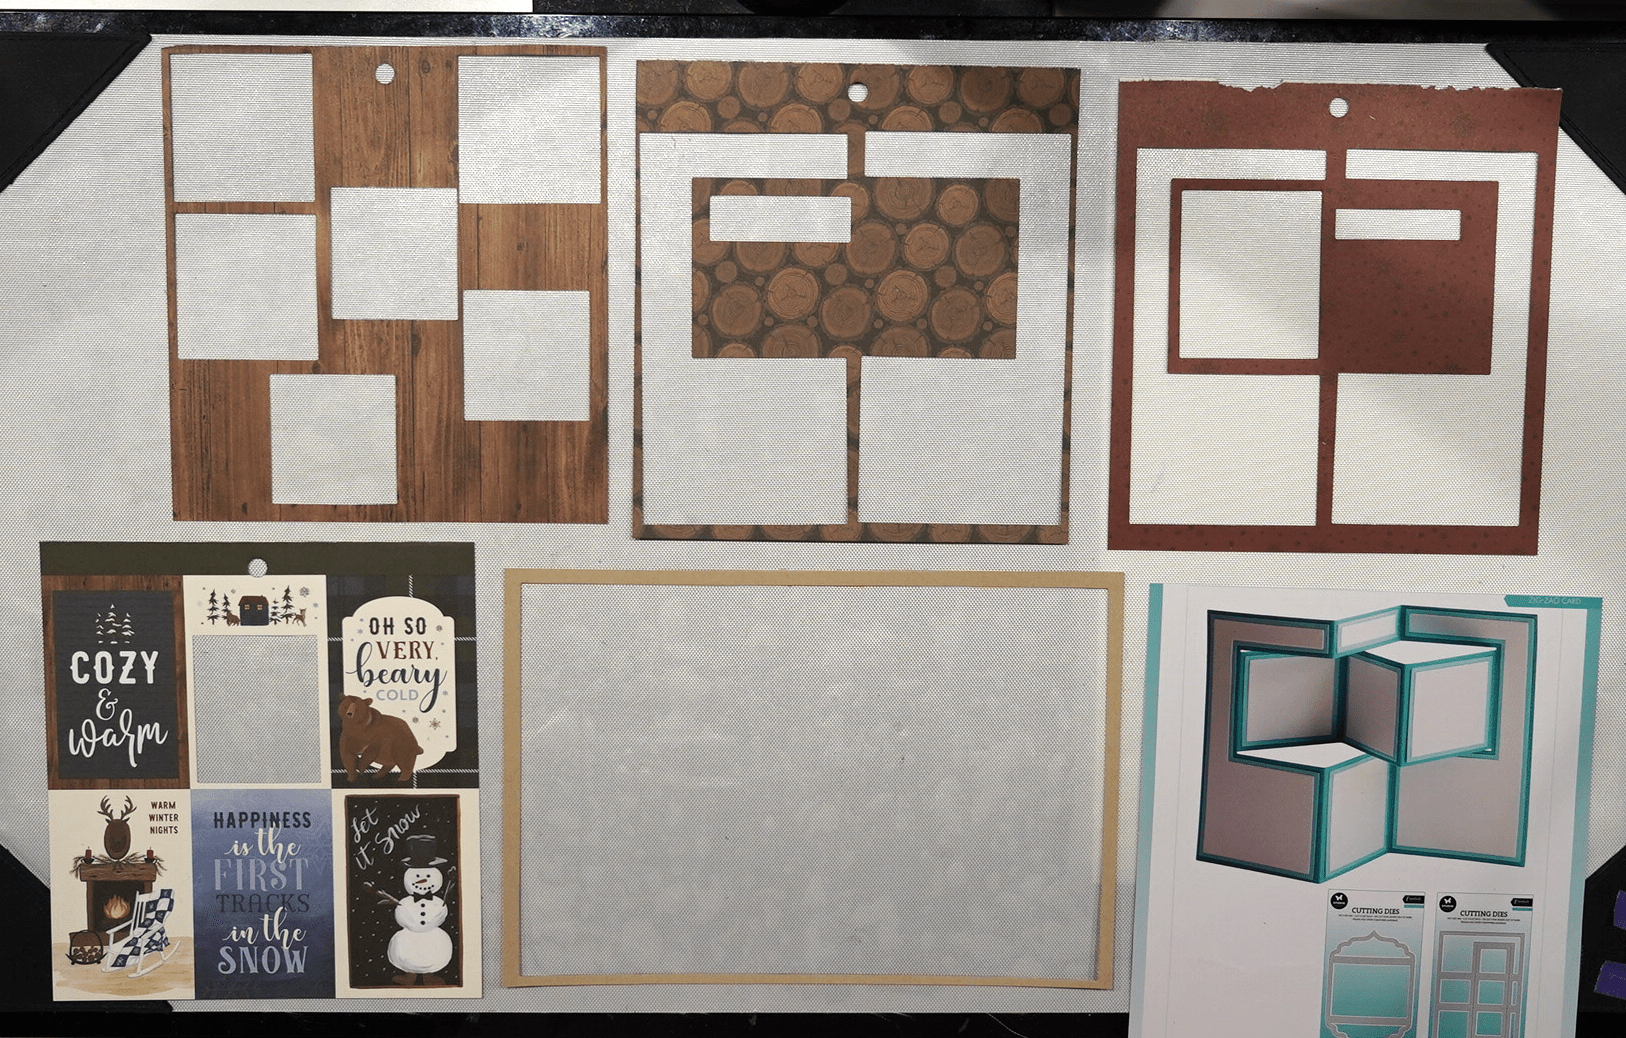
Check the backs of your patterned paper because paper companies do a great job of using coordinating colors in these packs. Great way to save paper — to make more cards!

